Setting up your sidebar
Sidebars can be very useful in organizing pages and navigating to the required ones quickly.
Overview
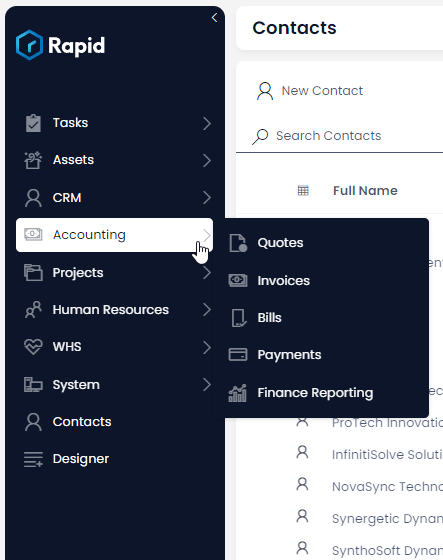
Customizing the Explorer sidebars is one of the most fundamental things an organization can do to ensure that their system matches their business requirements. The sidebar is how all users will interact with and navigate Explorer. It is very advantageous, if you can collect all the related pages under one category. For example - we can have all of our Accounting related pages and tables nested neatly under the Accounting section. In addition to go multiple layers deep in the nesting of menu items.
Accounting Example:
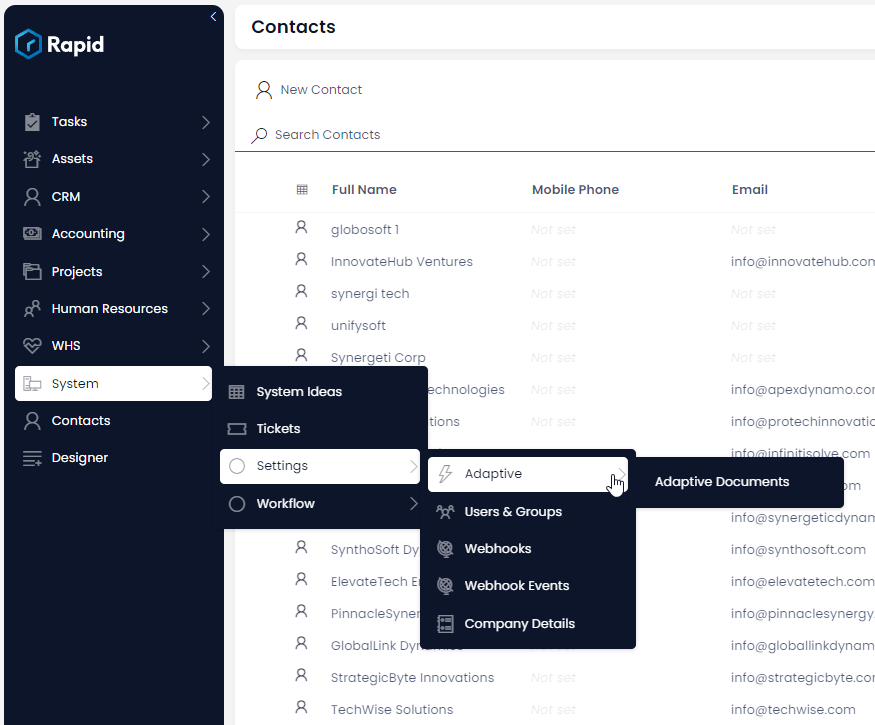
Multiple Layers of Nesting Example:
Customizing the Explorer Sidebar:
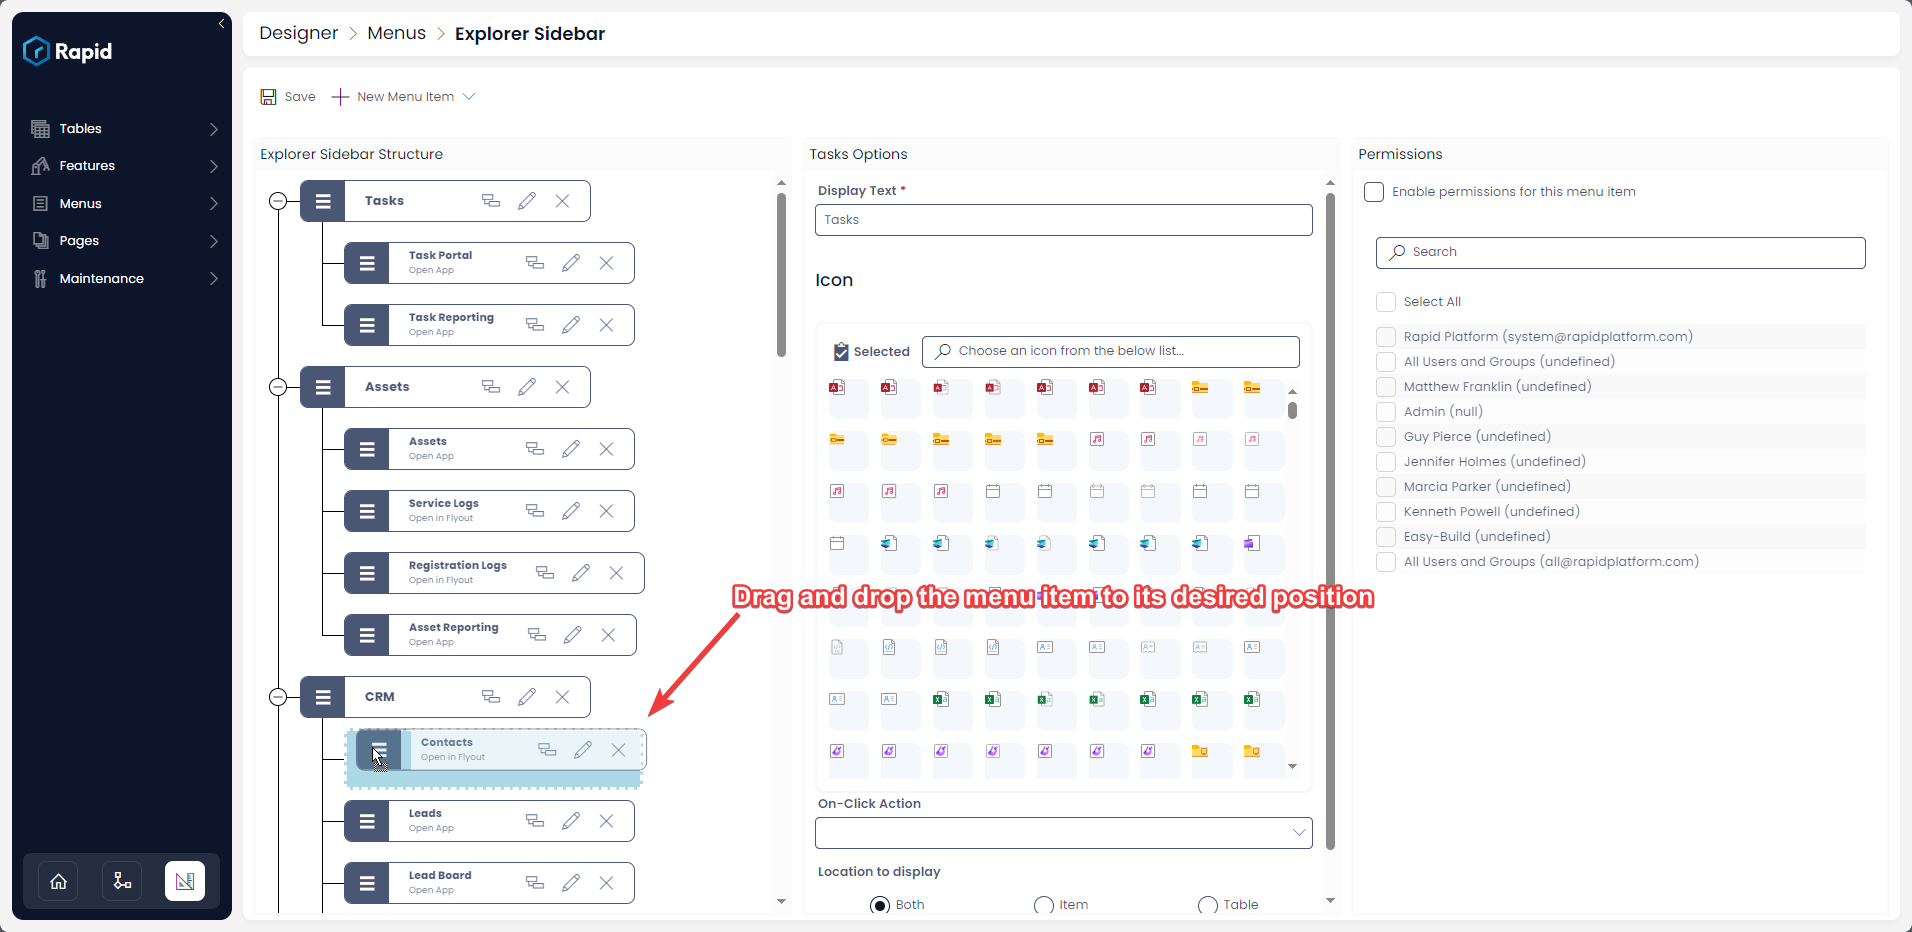
In this example we want to move the Contacts menu item to be nested under the CRM menu item. The steps below will show you how to do so.
-
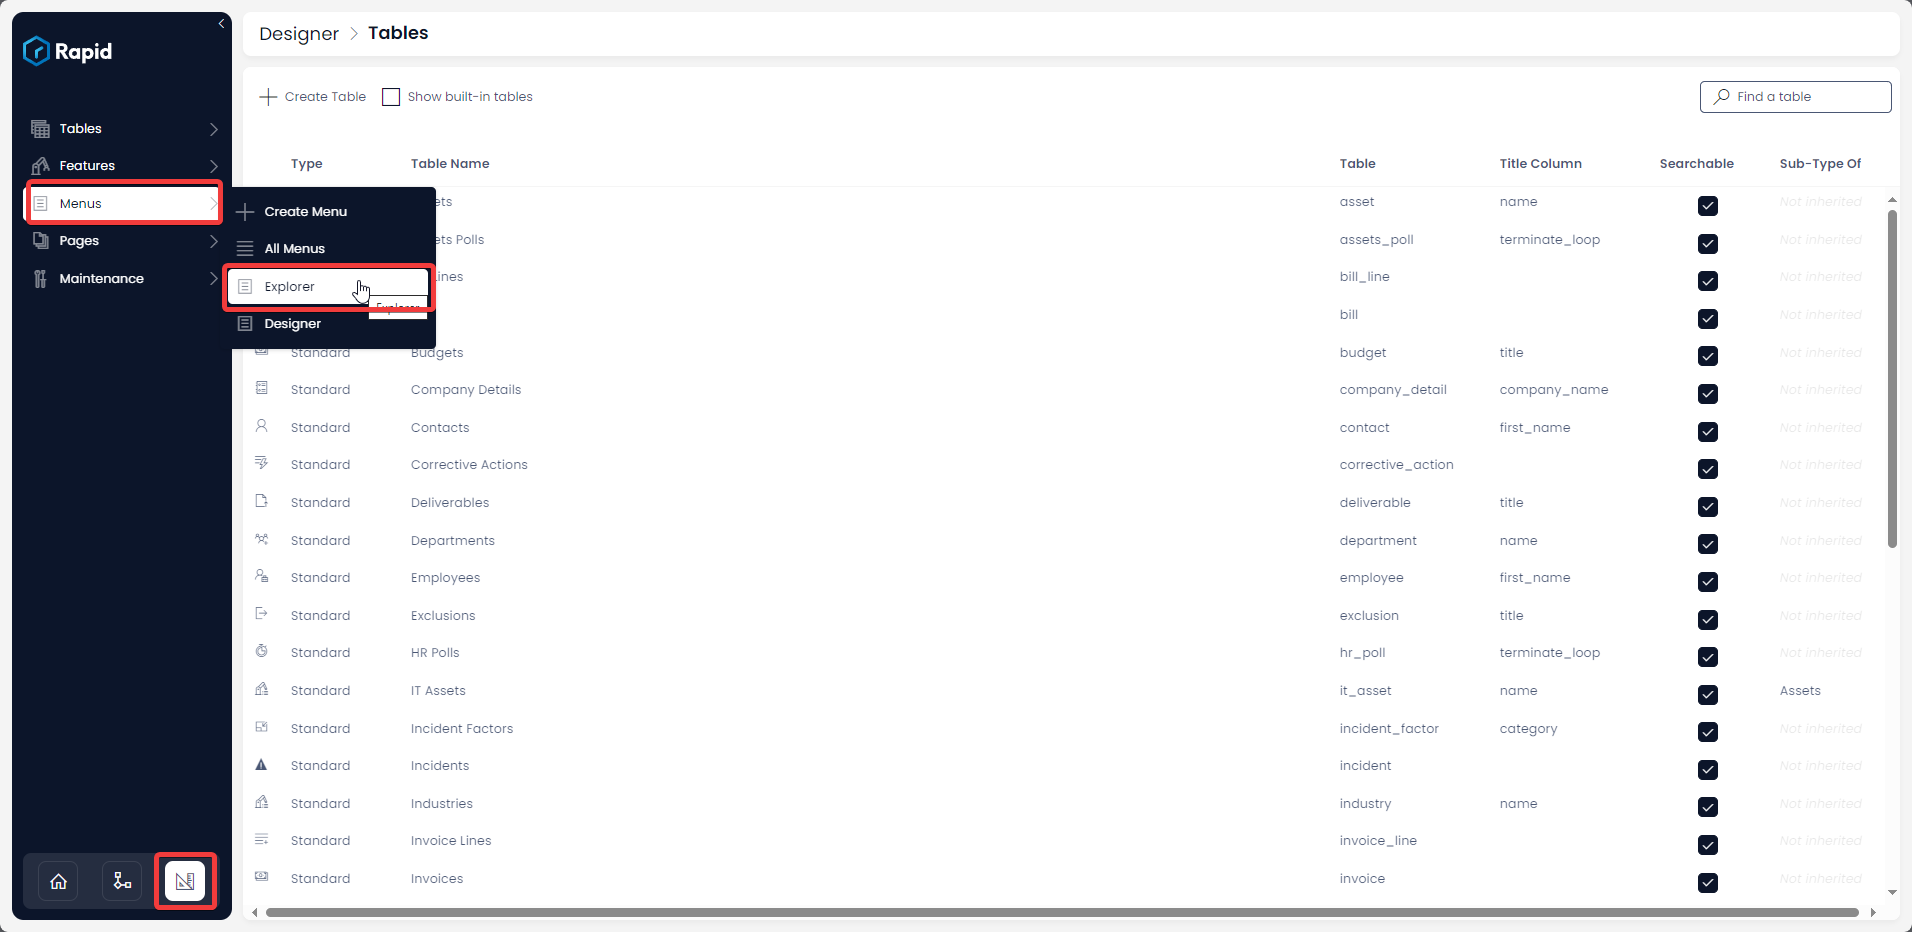
Navigate to Designer > Menus > Explorer
-
In the Explorer Sidebar Structure side panel drag and drop the desired menu item to its desired position by clicking and holding on the three horizontal lines
-
Press Save
-
Observe the menu item has now been moved

The below video shows additional detail on how to customize the Sidebar: